

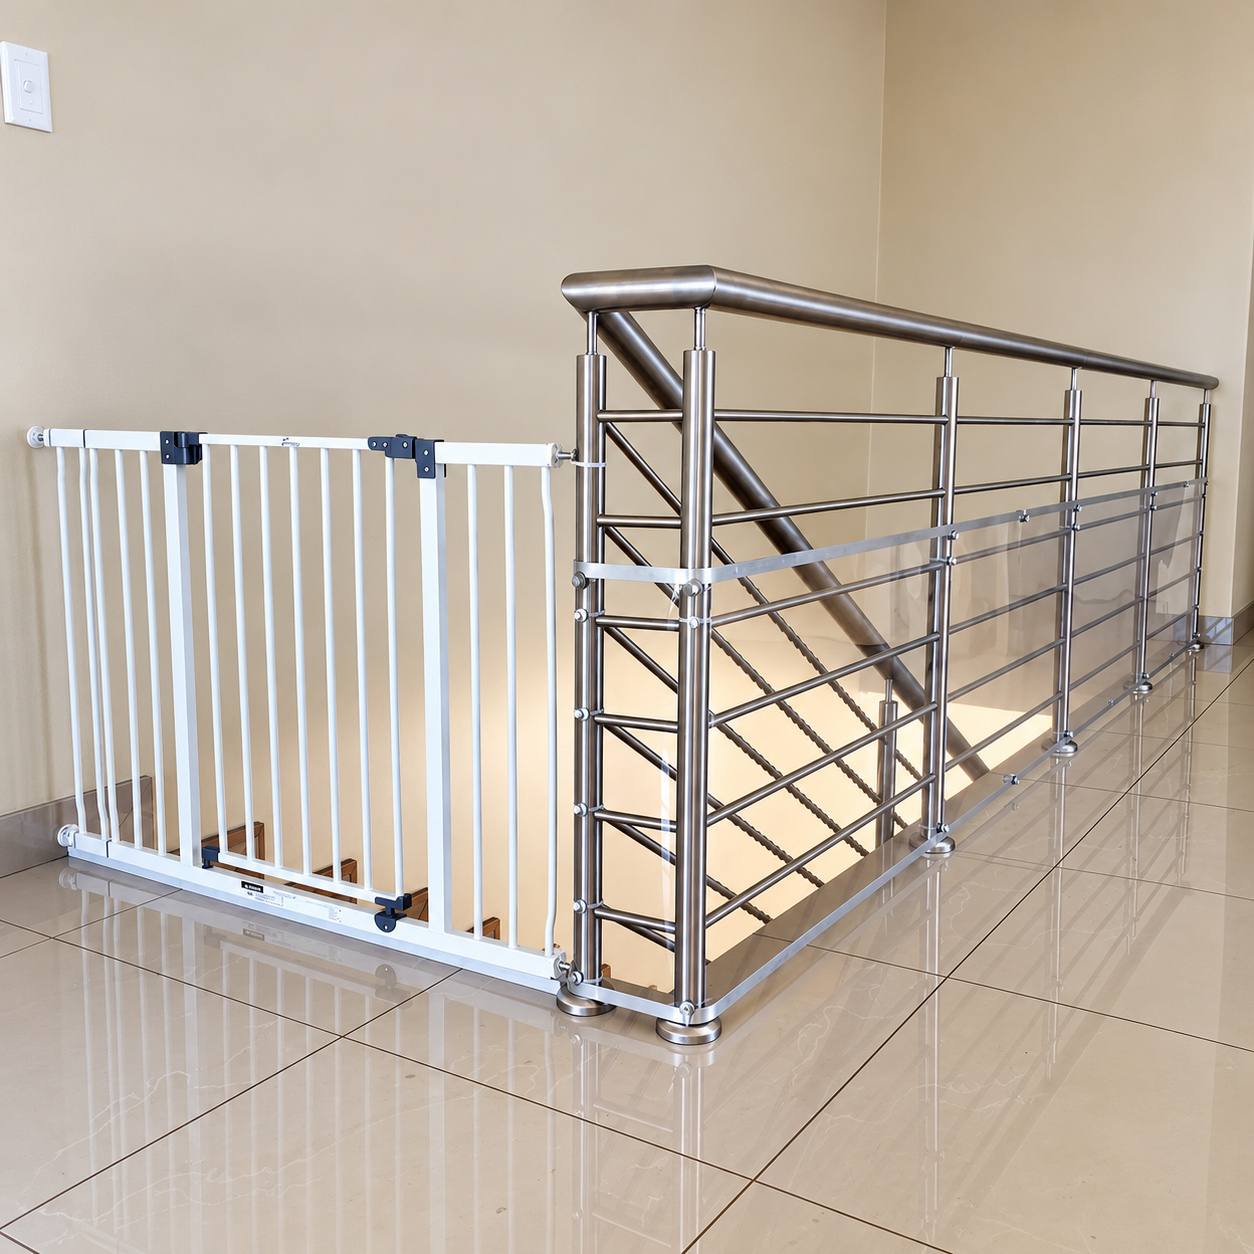
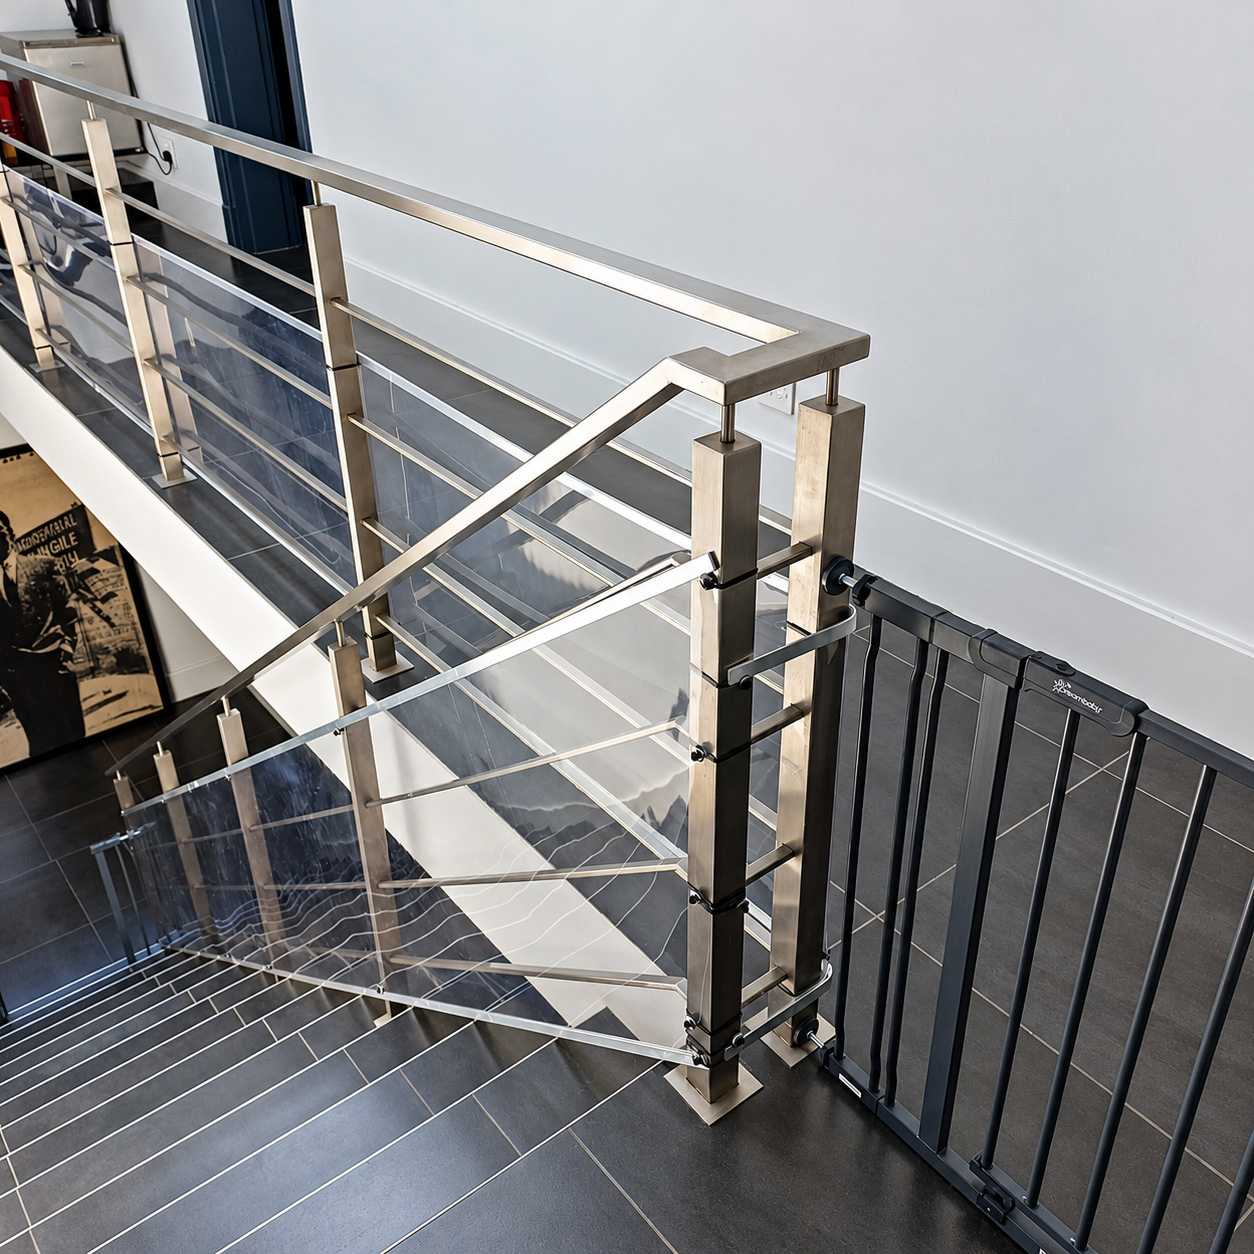

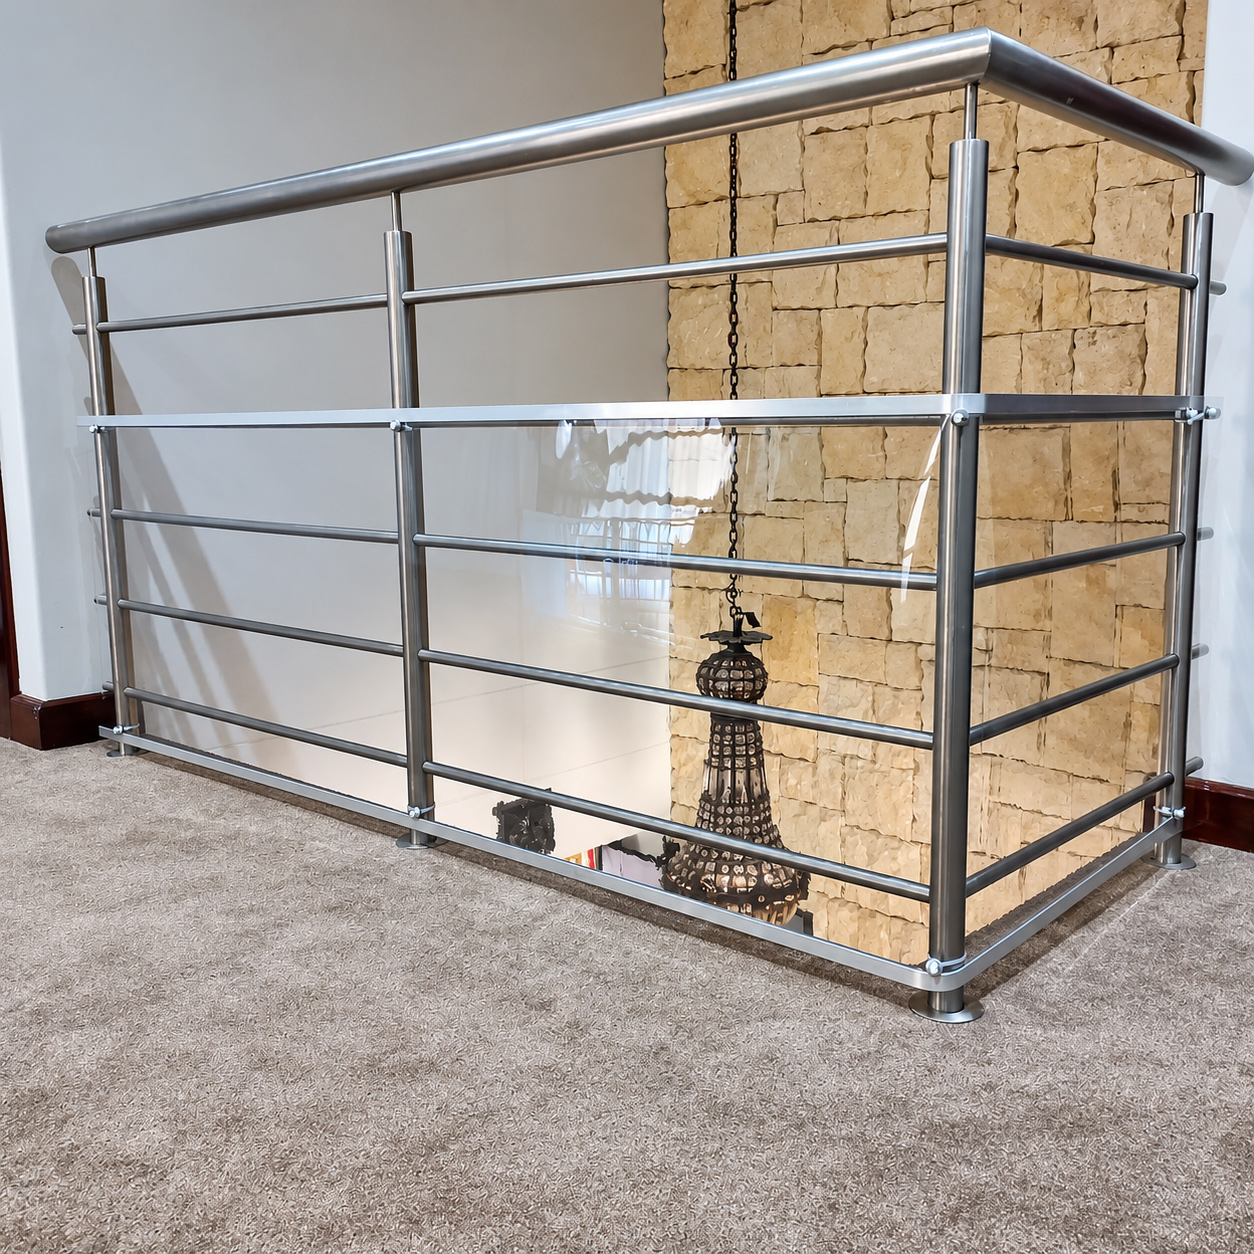
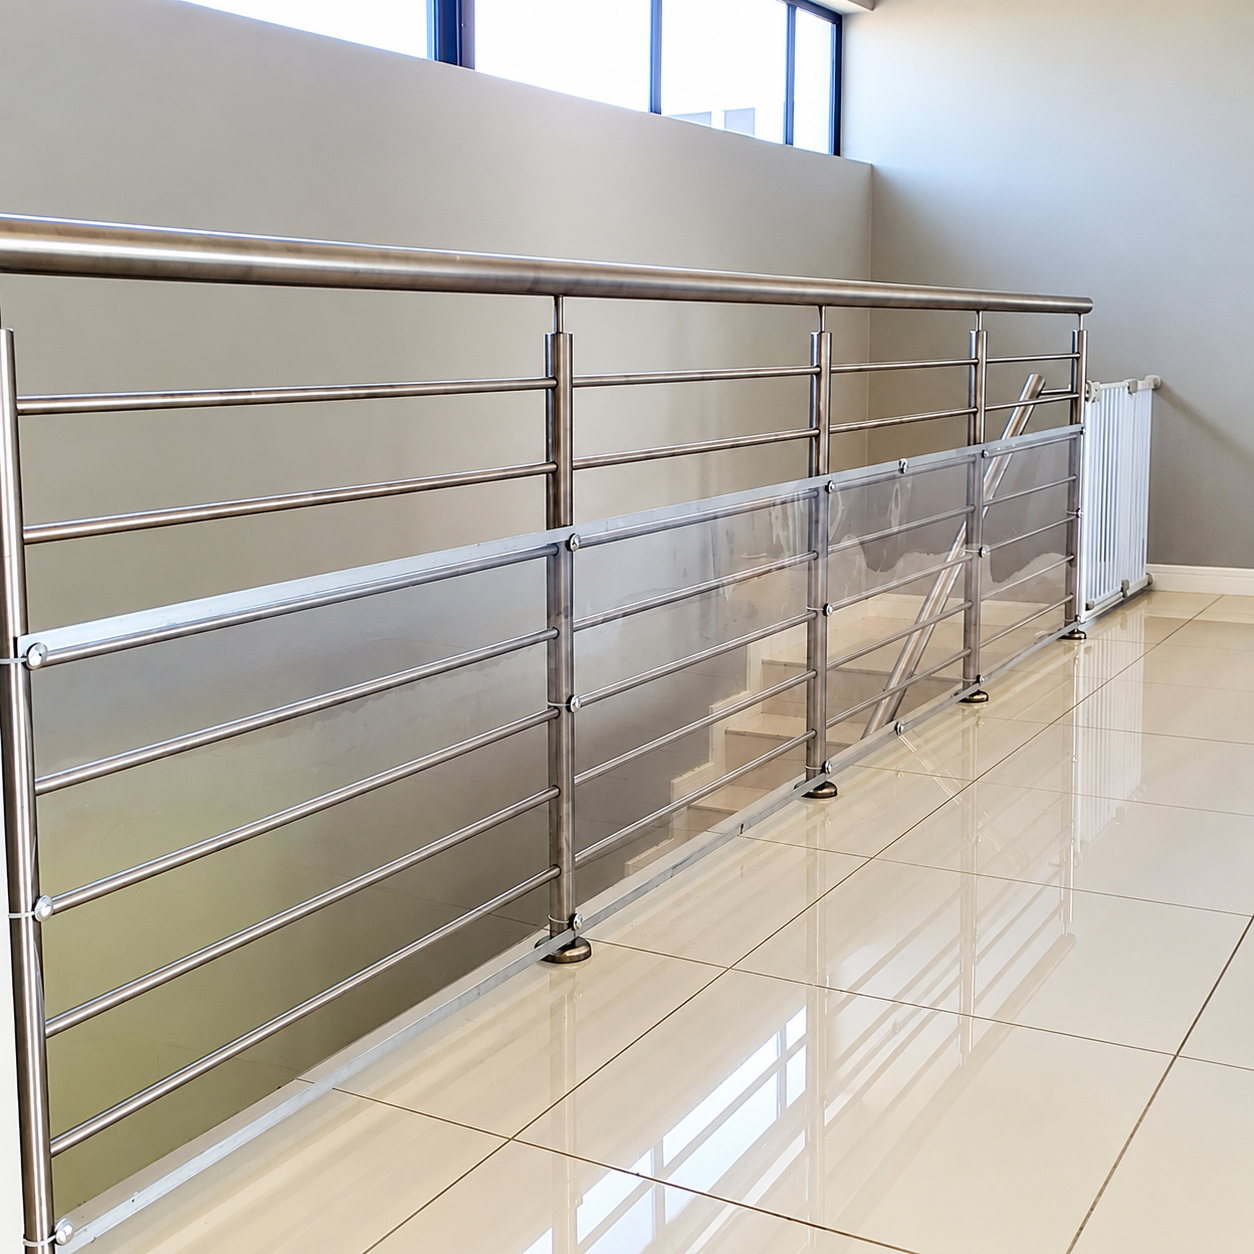
PVC Clear Sheeting for Banisters & Balustrades
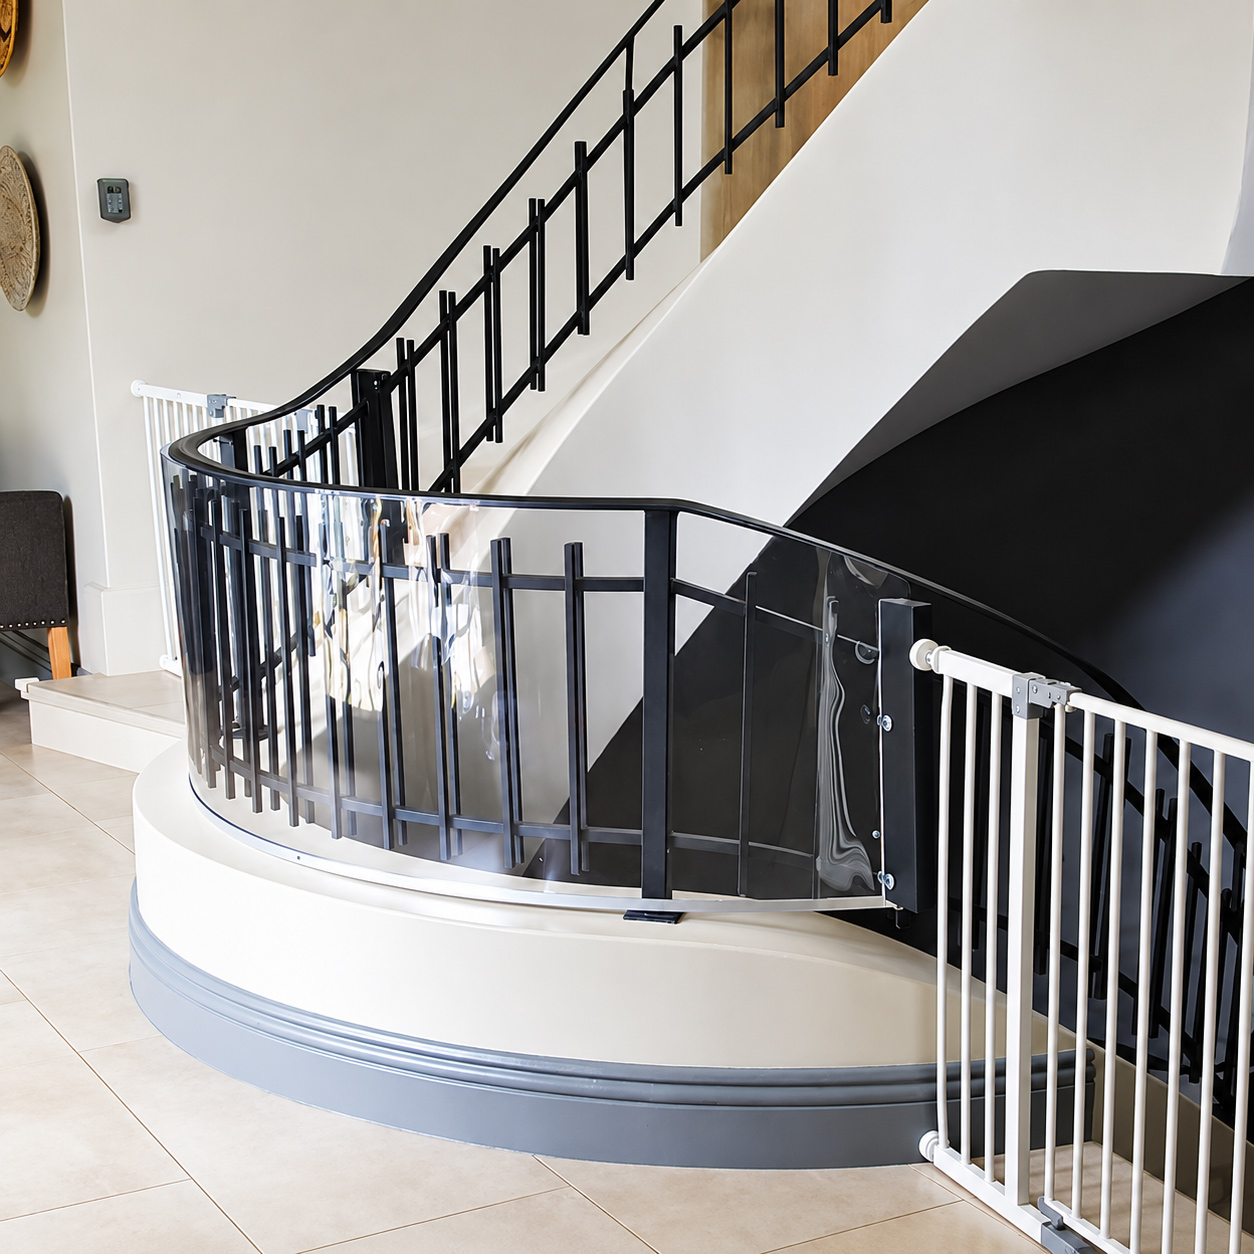
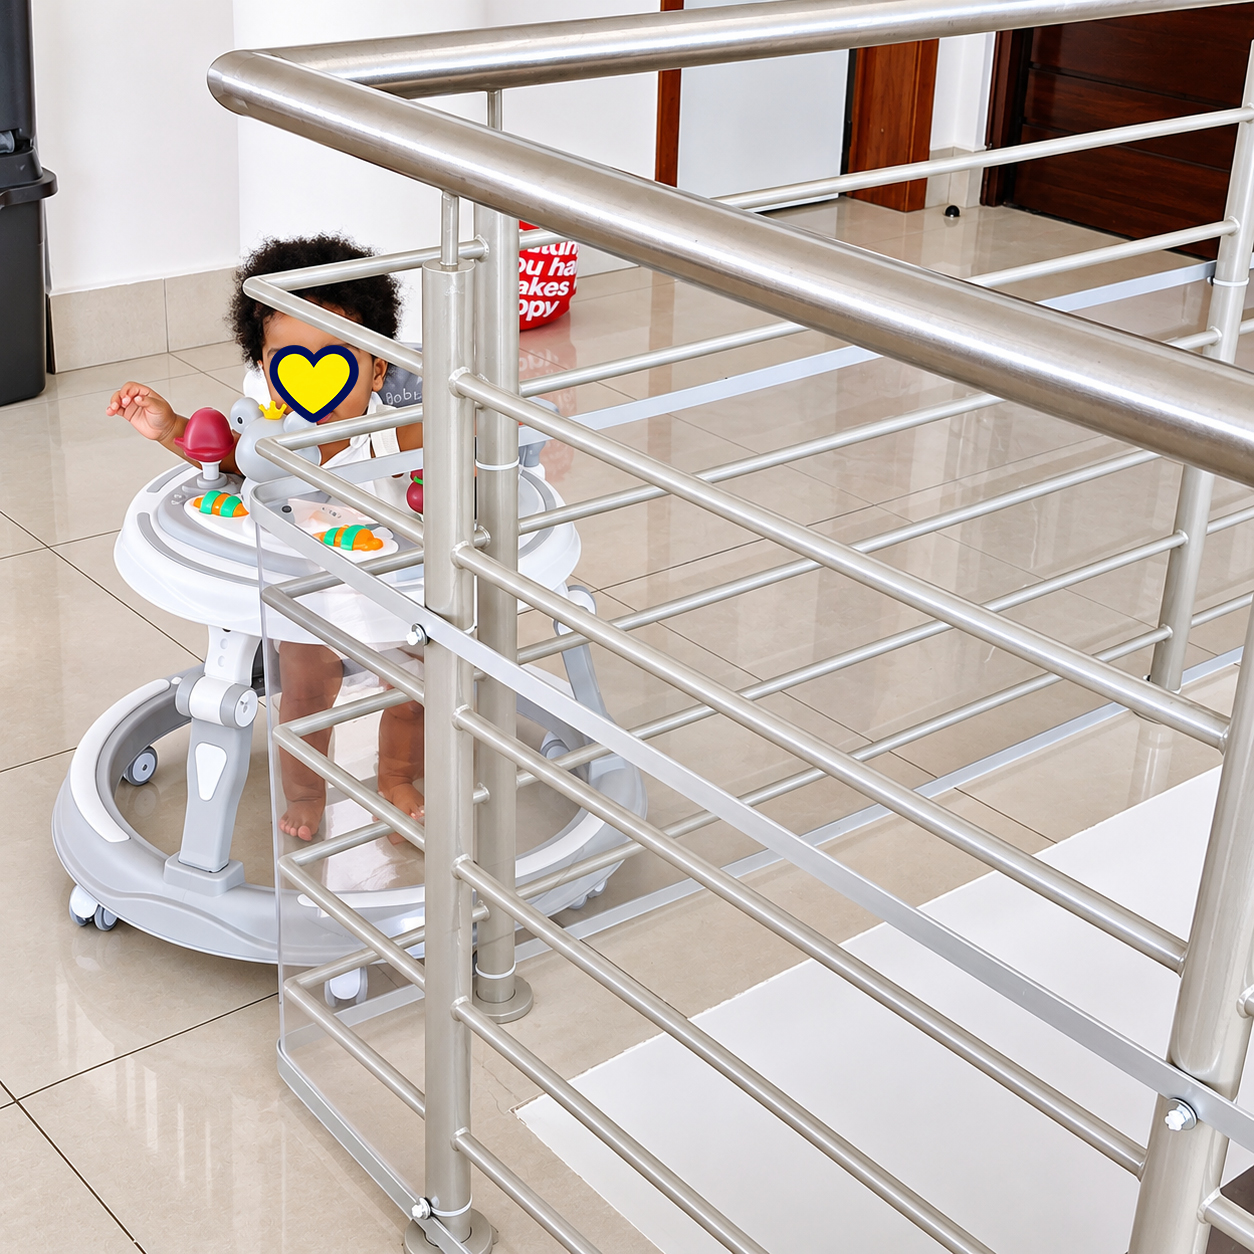
PVC Clear Sheeting is a cost-effective way to help childproof balustrades and banisters by covering gaps between railings. It helps prevent curious little climbers from using horizontal bars as a ladder or attempting to squeeze through the gaps.
Important: This product is non-refundable once your selected length has been cut to order. Please read all product specifications and installation instructions carefully before purchasing.
- Sheet height: 600 mm (60 cm), supplied in your selected length per running metre.
- Ordering example: Select QTY: 3 to receive one continuous 3-metre length of PVC Clear Sheeting.
- Thickness: 500 micron (0.5 mm).
- Easy to trim: Can be cut to size at home using sharp, heavy-duty scissors and a suitable cutting surface.
- Outdoor use: Not recommended for prolonged exposure to direct sunlight and weather conditions. Estimated lifespan when exposed to sun and wind is approximately 6–8 months, depending on conditions.
- Price: Per running metre of PVC Clear Sheeting only. Aluminium flat bars, fasteners and other installation materials are NOT included and are detailed in the full product description below.
- Installation: Scroll down for detailed product information, installation instructions and information about Baby Proof SA’s professional installation service.
Safety note: PVC Clear Sheeting is intended as an additional protective barrier and must be securely installed. It does not replace a structurally sound balustrade or appropriate adult supervision.
Shipped and at your door in 1-2 working days! Courier Fees Apply from R95 (JHB/Midrand/PTA) – Other regions in South Africa vary.
35 in stock
R135
PVC Clear Sheeting – Product Information & Installation Guide
Our PVC Clear Sheeting is a budget-friendly option for covering gaps in suitable indoor banisters and balustrades. When correctly installed, it can help discourage little climbers from using horizontal railings as footholds or attempting to squeeze through the gaps.
IMPORTANT: PVC Clear Sheeting is an additional protective measure, not a structural safety barrier. It must only be installed on a secure, structurally sound balustrade and must not create new climbing hazards. Not every balustrade is suitable for this type of installation.
PVC Care & Cleaning Instructions
- DO NOT USE WINDOWLENE, NEWSPAPER OR ABRASIVE CLEANING PRODUCTS. These can scratch or damage the PVC surface.
- For everyday dust removal, use a soft, clean Microfibre Multipurpose Duster, available from Takealot.
- For more stubborn dirt, mix a small amount of mild dishwashing liquid with lukewarm water.
- Gently clean the PVC using a soft, good-quality 280gsm Microfibre Cloth. Rinse with clean water and dry carefully with another soft cloth.
- Avoid harsh chemicals, methylated spirits, white spirits, solvents and abrasive sponges. These may damage or discolour the PVC.
- Inspect the PVC regularly for scratches, cracks, tears, loose cable ties or other signs of deterioration. Replace damaged material or insecure fittings promptly.
DIY Installation Instructions
CLICK HERE FOR A PRINTABLE COPY OF THE INSTALLATION INSTRUCTIONS
- ADULTS ONLY! Please ensure that children and pets are safely supervised by another responsible caregiver and are nowhere near the installation area.
- Two adults are required for installation. One person will position and hold the PVC sheeting while the other secures it.
- Before starting, check that the existing balustrade is structurally sound, with no loose railings, damaged posts or insecure fittings.
- Do not install this product where the PVC could be used as a handrail, support a person’s weight or replace a required structural barrier.
- If you are unsure whether your balustrade is suitable, have it assessed by an appropriately qualified professional before proceeding.
Tools & Materials You Will Need
- Measuring tape – to measure the area you want to cover.
- Sharp, heavy-duty scissors – suitable for cutting flexible PVC sheeting.
- Long ruler or straight edge – preferably longer than 61 cm. An L-shaped ruler is particularly useful for marking accurate 90-degree cutting lines.
- Washable, PVC-compatible marker – to mark your cutting lines. Test on a small offcut first to ensure the marks can be removed without damaging the material.
- Small side cutter or flush-cutting cable-tie tool – to trim the excess cable ties neatly.
- 30W Soldering Iron – for creating small fixing holes in the PVC sheeting. Use only in a well-ventilated work area, following the manufacturer’s safety instructions. Where practical, make the holes before positioning the sheeting against the balustrade. Keep the hot tip away from surrounding surfaces and allow it to cool completely before storage.
- Cable Ties: White or black, of suitable strength and length for your balustrade. These are used to secure the PVC sheeting to the railing posts.
- Bonded Washers – to help distribute pressure around the cable-tie fixing holes and provide a neat finish.
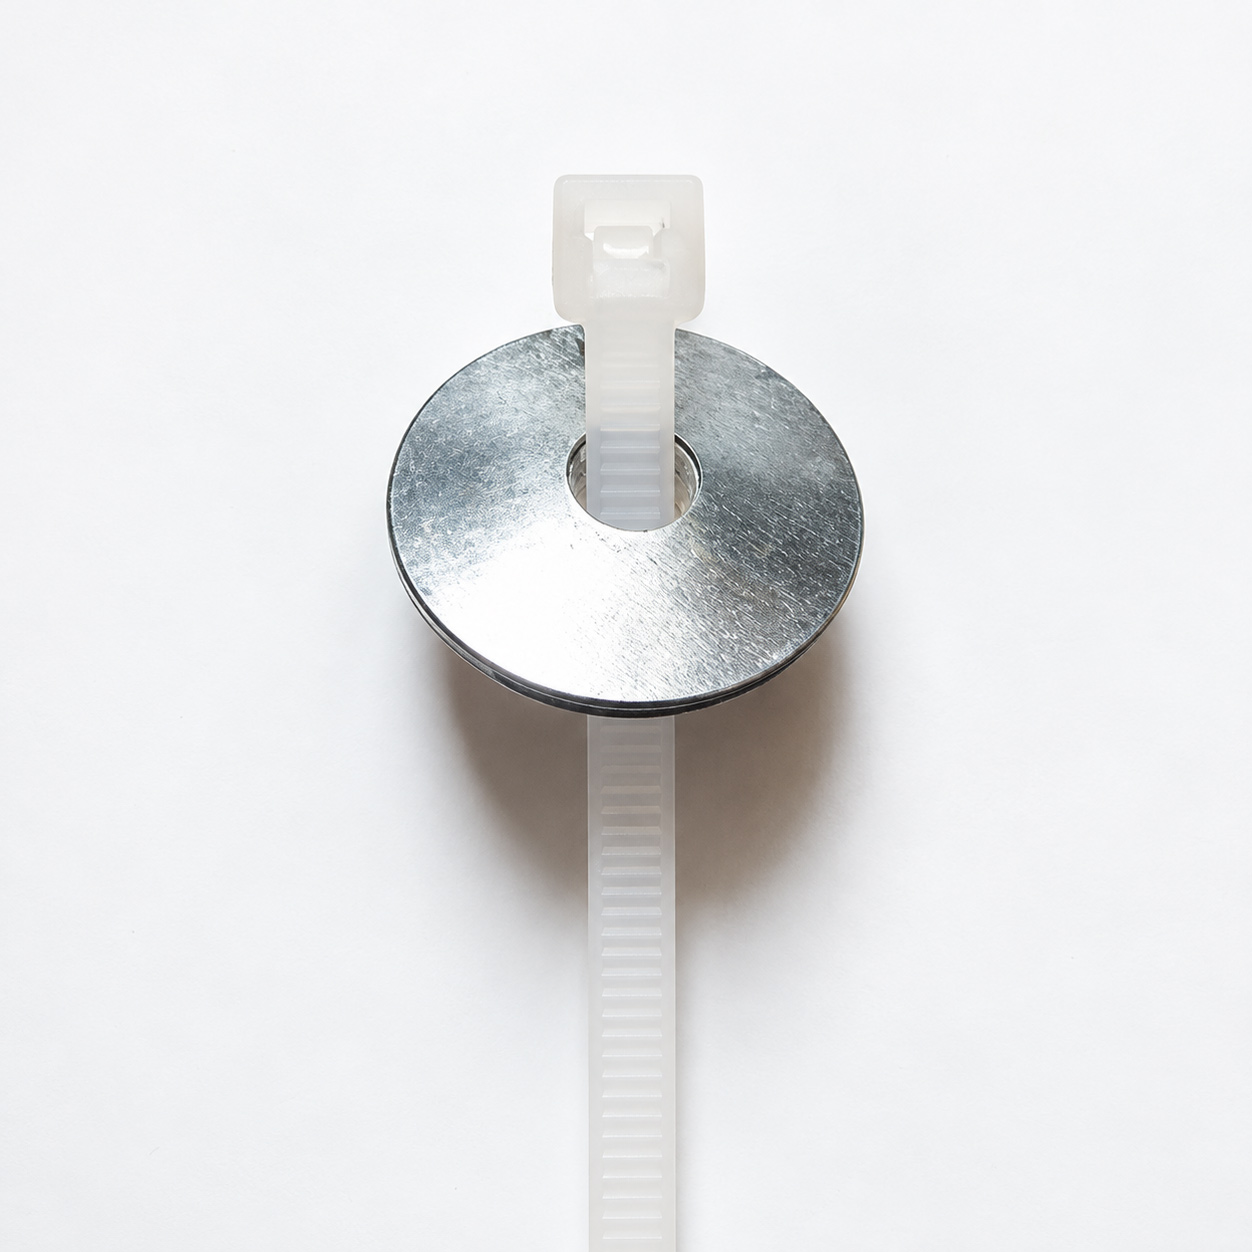
Bonded washer and cable tie for PVC sheeting installation
Optional Finishing Materials
- Kedla Aluminium Flat Bars – optional finishing strips for the top and/or bottom edges of the PVC sheeting. Size: 3 m long x 19 mm wide. These are decorative finishing components and do not replace the cable ties and washers used to secure the PVC.
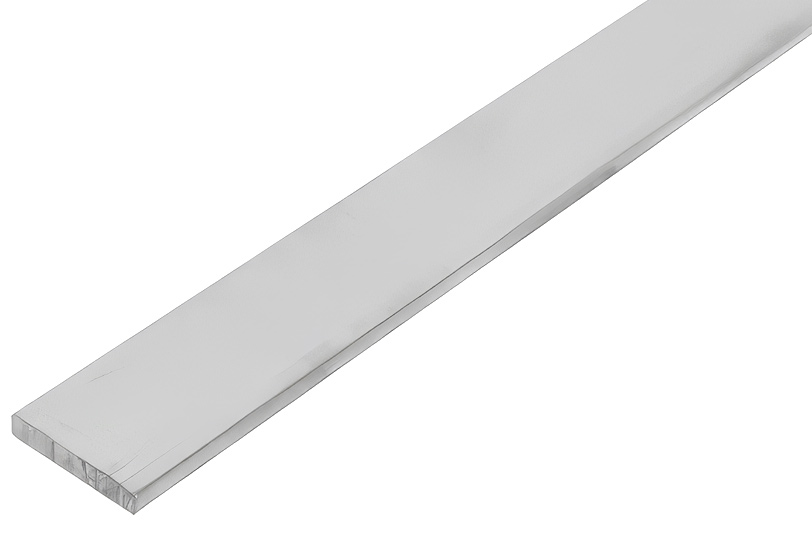
Optional Kedla aluminium flat bar for a neat finishing touch
- Double-Sided Adhesive Tape – 18 mm wide – for attaching the optional aluminium finishing bars to the PVC sheeting. Check that the tape is compatible with both materials.
Step-by-Step PVC Clear Sheeting Installation
- Measure your balustrade. Carefully measure the area you want to cover, allowing for the position of the railing posts and fixing points.
- Prepare your workspace. Keep the PVC upright or supported on a clean, smooth surface while measuring and cutting to help prevent scratches.
- Mark your cutting line. Use your ruler and washable marker to draw a straight line at the required length.
- Cut the PVC to size. Using sharp, heavy-duty scissors, cut carefully along your marked line. Check that the edges are smooth and free from sharp or uneven sections.
- Position the PVC against the balustrade. With your installation partner holding the sheeting in place, identify suitable fixing points along the railing posts.
- Prepare the fixing holes. Make small holes, no larger than approximately 5 mm, at the required positions. If using a soldering iron, work in a well-ventilated area and avoid contact with the metal railings, surrounding finishes or other surfaces. Never leave a hot soldering iron unattended.
- Secure the first railing post. Starting at one end, use at least three suitably positioned cable ties with bonded washers – top, middle and bottom – where the railing design permits. Additional fixings may be necessary depending on the installation.
- Continue along the balustrade. Working from post to post, have your installation partner hold the PVC straight and flush while you secure each section with cable ties and bonded washers.
- Check the tension. The PVC should sit neatly against the railings without excessive slack, sagging or distortion. Avoid overtightening the cable ties, which could tear or damage the material.
- Inspect your work. Stand back and check that the sheeting is straight, the fixings are secure and no gaps or loose sections have been left accessible to little hands.
- Trim the cable ties. Use a suitable flush-cutting tool to remove the excess ends. Make sure there are no sharp edges that could scratch or injure a child.
- Optional finishing bars. If you have chosen to use Kedla aluminium flat bars, prepare these for installation along the bottom edge or both the top and bottom edges, depending on your preferred finish.
- Apply the double-sided tape. Attach the tape neatly along one side of each aluminium bar, following the adhesive manufacturer’s instructions.
- Position the finishing bars. Remove the tape backing and carefully press the aluminium bar into position, working gradually from one end to the other to keep it straight.
- Adjust the aluminium lengths if necessary. Bars may be overlapped where appropriate. If cutting is required, use suitable metal-cutting equipment, appropriate protective gear and safe working practices. Remove all sharp edges and metal burrs before installation.
- Final safety inspection. Check every fixing point, washer and cable tie. Ensure the PVC has no tears, sharp edges, loose sections or gaps that could create a hazard. Check that the installation has not compromised the existing balustrade.
- Time to clean up! Collect all tools, offcuts, spare cable ties, washers and packaging. Store everything safely in a child-safe, lockable cupboard and recycle suitable waste materials where possible.
ALL DONE & DUSTED!!!
Well done on taking another important step towards making your home safer for your little one!
Remember: Regularly inspect your PVC barrier and all fixing points for wear, damage or loosening. This sheeting does not replace a compliant, structurally sound balustrade, and adult supervision remains essential around stairways, balconies and elevated areas.
Prefer Professional Installation?
Not everyone enjoys measuring, cutting and tackling DIY projects – and that’s perfectly okay!
Baby Proof SA offers professional home assessments and childproofing installations within a 30 km radius of Roodepoort, Gauteng, subject to availability.
An on-site assessment is required before installation can be quoted. Unfortunately, we cannot provide remote quotations or site-specific installation recommendations based on photographs or customer-supplied measurements.
CONTACT BABY PROOF SA FOR MORE INFORMATION
Related Childproofing Article
For more practical safety tips, read our guide:
| Brand | Baby Proof SA |
|---|---|
| Color | Transparent |
| Material | PVC |
| Pattern | Smooth |
| Size | Height: 600mm | Length: Per Running Meter |
| Primary Category | Balcony and Balustrade Protector |
| Primary Function | Child Safety Barrier |
| Product Type | Childproof Protective Barrier |
| Installation Method | Detailed Installation Method is available under the Product Description Tab, Instructions included in product packaging, Must be fitted according to instructions to ensure it works correctly |
| Care Instructions | DO NOT USE WINDOWLENE OR NEWSPAPER, Make sure your detergent has no harsh chemicals that could damage the plastic, such as white spirits, ONLY use a good quality, clean Microfibre Cloth, Wipe surface with a damp cloth using mild detergent and warm water |
3 reviews for PVC Clear Sheeting for Banisters & Balustrades
You must be logged in to post a review.
RELATED PRODUCTS

Clear Polycarbonate – Balustrade Protective Barrier
Our Clear Polycarbonate Balustrade Protective Barrier, with a lifespan of up to 10 years, is a premium solution for homes with balustrades featuring wide gaps or horizontal bars that may encourage young children to climb.
THIS PRODUCT IS LISTED FOR PRICING GUIDANCE ONLY. ALL CUSTOM-CUT PANELS ARE QUOTED INDIVIDUALLY.
- Custom-cut polycarbonate panels are available on a supply-only basis, with courier delivery available nationwide.
- Customers are responsible for providing accurate measurements and confirming all panel dimensions before manufacturing. We recommend having measurements verified by your appointed installer.
- IMPORTANT: Before requesting a quotation or taking measurements, please carefully read our measuring guide, which explains the factors that may affect panel dimensions and quantities: PLEASE READ OUR GUIDE ON HOW TO MEASURE.
- Baby Proof SA does not provide remote assessments, site-specific installation recommendations or technical installation advice based on photographs, videos or customer-supplied measurements.
- On-site assessments and installations are available only within a 30 km radius of Roodepoort, subject to availability and prior arrangement.
- Prices indicated are per square metre (1,000 × 1,000 mm) for 2 mm thick clear polycarbonate.
- The typical lead time is 2–3 working days after payment has been received, subject to availability and confirmation before payment.
Scroll down for more information and related articles…

Dreambaby 18cm Baby Gate Extension
The Dreambaby 18cm Gate Extension can be added onto the Dreambaby Standard Doorway Baby Safety Gate or Liberty Xtra Wide Hallway Gate to extend the width of the gate for wide openings.
- By using the correct extensions, one can extend the hallway gate up to 3 meters.
- Available Extension Sizes: 9cm | 18cm | 27cm | 36cm | 45cm | 54cm | 63cm | 1 meter.
Important before purchasing any gate:
- Take accurate measurements.
- Remembering to factor in the skirting (if there is one).
- DREAMBABY GATE COMPARISON GUIDE.
- How to work out the size of the pressure mounted baby gate and possible extensions you may need.
- Baby Gate Challenges and Hacks.
- Scroll down for detailed information.
Shipped and at your door in 1-2 working days! Courier Fees Apply from R95 (JHB/Midrand/PTA) – Other regions in South Africa vary.

Baby Gate Banister Pole Adapters – Set of 2
Our Baby Gate Banister Pole Adapters replace standard flat tension bolts with a “Y” shaped head to wrap around round poles or corner walls. A simple solution for mounting safety gates on stair railings.
- Pack includes: 2 x Banister Gate Adapters (1 Pack required for one side.)
- Tested on Dreambaby brand only.
- If you have another brand, measure the hole first. The diameter of the thread is 1cm wide.
- Scroll through product images for more size specifications.
Shipped and at your door in 1-2 working days! Courier Fees Apply from R95 (JHB/Midrand/PTA) – Other regions in South Africa vary.

Dreambaby Ava Doorway Gate 75cm to 84cm
The Dreambaby Ava Doorway Gate fits most standard doorways.
- Adjusts to fit openings from 75-84cm.
- Gate height: 76cm.
- Pressure mounted with tension knobs (No drilling required.)
- Available in two colours: White and Charcoal
- Extends up to 2.84m using optional gate extensions.
- Available Extension Sizes: 9cm | 18cm | 27cm | 36cm | 45cm | 54cm | 63cm | 1 meter.
Important before purchasing any gate:
- Take accurate measurements.
- Remembering to factor in the skirting (if there is one).
- DREAMBABY GATE COMPARISON GUIDE.
- How to work out the size of the pressure mounted baby gate and possible extensions you may need.
- Baby Gate Challenges and Hacks.
- Scroll down for detailed information.
Shipped and at your door in 1-2 working days! Courier Fees Apply from R95 (JHB/Midrand/PTA) – Other regions in South Africa vary.
OTHER COOL PRODUCTS

Dreambaby Banister Gate Adaptors
UNFORTUNATELY PRODUCT HAS BEEN DISCONTINUED IN SA ;(
These Y-spindle adaptors are a great solution to fixing your safety gates to railings, banisters and wall corners.
- Pack includes: 2 x Banister Gate Adaptors (1 Pack required for one side only)
Important before purchasing any gate:
- Take accurate measurements.
- Remembering to factor in the skirting (if there is one).
- DREAMBABY GATE COMPARISON GUIDE.
- How to work out the size of the pressure mounted baby gate and possible extensions you may need.
- Baby Gate Challenges and Hacks.
- Scroll down for detailed information.
Shipped and at your door in 1-2 working days! Courier Fees Apply from R75 (JHB/Midrand/PTA) – Other regions in South Africa vary.

Baby Teething Mittens – per pair
Our Baby Teething Mittens (sold as a pair) are perfectly shaped with food grade soft silicone and material
Designed to have a self-soothing effect during this uncomfortable time.
- The Velcro strap will ensure the teething mittens stay put during outings.
- Scroll down for more info.
- Size: 6-12Months
Shipped and at your door in 1-2 working days! Courier Fees Apply from R75 (JHB/Midrand/PTA) – Other regions in South Africa vary.

Secure Self Adhesive Window Lock
The Self Adhesive Window Lock is a cable restrictor that has been specifically designed to reduce the risk of accidental falls from windows.
Box Includes:
- 1 x Self Adhesive Window Lock PLUS 1 x Key
- 1 x Alcohol Swab to clean area before adhesion.
- 1 x Adhesive Promoter Swab – Applied to surface after cleaning to ensure the product adhere’s properly.
- Scroll down for detailed product information.
Shipped and at your door in 1-2 working days! Courier Fees Apply from R95 (JHB/Midrand/PTA) – Other regions in South Africa vary.
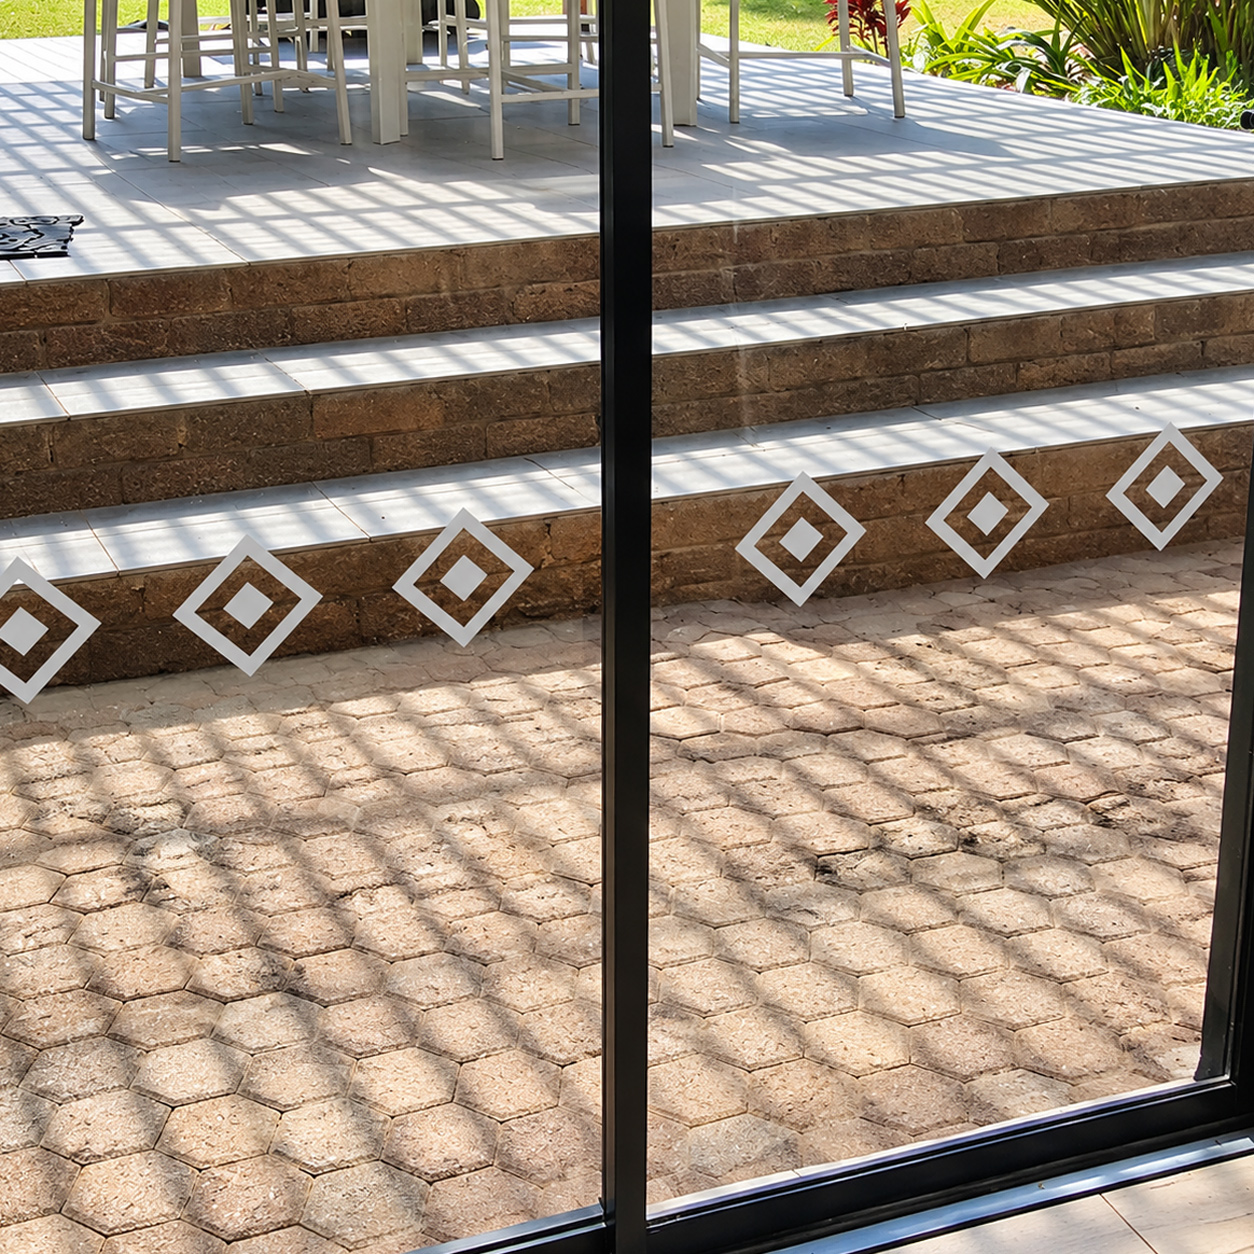
Sliding Door Transfer Stickers
Our Sliding Door Transfer Stickers are ideal for preventing dangerous accidents that can happen when a child or adult walks into a closed sliding glass door.
What’s included?
- 1 x sheet per pack | Size: 50 (w) x 13cm (h)
- 3 x diamond (sandblasted effect) patterns per sheet as per product images.
- Scroll down for installation method.

Nadine Trichardt (ZA) –
We are very happy with our purchase. The instructions on the website were very helpful to assist with the installation of the PVC Clear Sheeting for Banisters & Balustrades that we purchased.
Rene van Staden –
used this product for our puppy to close of the gaps on the horizontal balustrade at the top of the stairs along with a baby gate and its been very helpful and we now atleast have piece of mind. Thank you for advising us properly Michelle. Other options were so expensive and would have done exactly the same.

Sandra Holstner –
We were looking for a budget friendly option to prevent our toddler from climbing up our horizontal balustrades which is his favourite thing to do at the moment. This product has completely eliminated the stress and has changed his behaviour completely. He has become disinterested and can’t climb at all anymore. Would definitely recommend for parents who are having the same issue as we had.